| Student Manual |  This highly interdisciplinary experiment will expose the students to the wave nature of light and the concept of polarization. The experimenters will use a tabletop laser as a light source and will use polarizers to control the generation and transmission of polarized light. Furthermore, students will determine the optical activity of a chiral molecule. The experiment will also engage the students in an exercise whereby they will be asked to describe what is meant by “optimum” measurements. |
| Software Code | Optics |
| Sample Results | Verification of Malus’s Principle |
| Hardware Manual | Laser specificationsCommonly used circuits with photodiodes and phototransistorsSi Photodetector : 400-1100 nm, low power(818 Series / Newport photodecteor specifications) |
| Experiment Code | 1.5 |
| Version | 16 November 2011 |
Further Readings and References
- Synthesis and physical properties of liquid crystals: an interdisciplinary experimentJournal of Chemical Education, G.R. Van Hecke et al., 82, 1349, (2005).
- Chirality Made Simple: A 1 and 2-D introduction to Stereo ChemistryJournal of Chemical Education, R.A. Gawley, 82, 1009, (2005).
- Using guided inquiry to study optical activity and optical rotary dispersion in a cross disciplinary chemistry labJournal of Chemical Education, M.A. Vaksman and J.W Lane, 78, 1507, (2001).
Pictorial Procedure
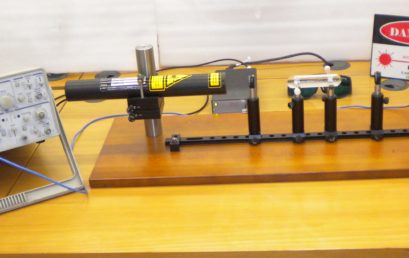
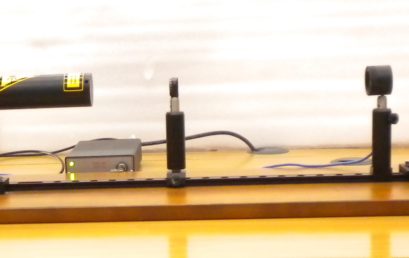
1. Provided apparatus
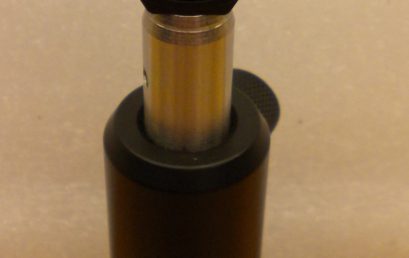
2. Mounting a polarizer
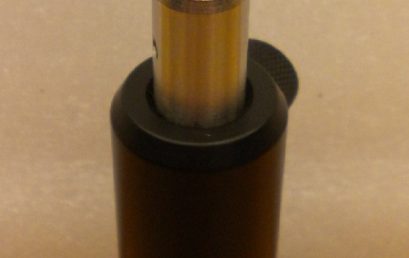
3. Rotating the optical axis clockwise
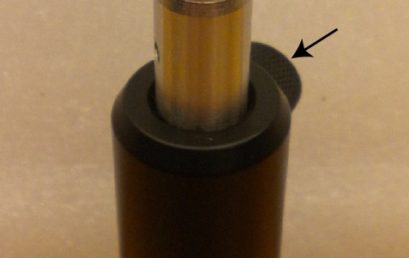
4. Adjusting height and orientation of a polarizer
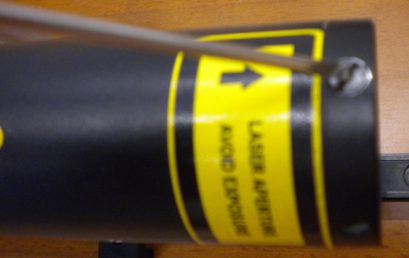
5. Opening the laserhead shutter
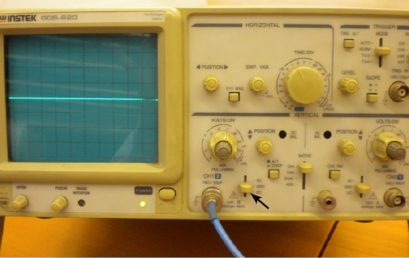
6. Input mode at GROUND
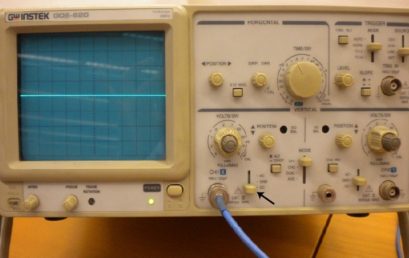
7. Input mode at DC
8. Polarizer A near the laser output
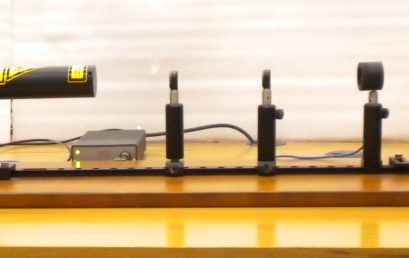
9. Polarizer B infront of the detector
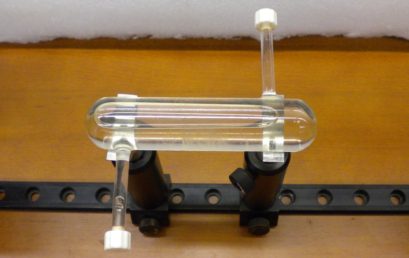
10. Mounting a sucrose cell
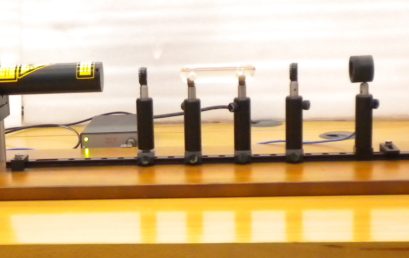
11. Setup for optical activity masurement