| Student Manual |  In the present experiment, we heat an object and observe how it cools with time and what factors affect the cooling rate. In one part, we allow the object to be cooled with the help of forced air currents and in the other, the air currents are switched off. We will also learn how to use the thermocouple, an important component of numerous industrially important processes. We will also observe that heating an object does not instantaneously raise its temperature, rather it changes only gradually. |
| Sample Results | Data acquired from Physlogger and its interpretationForced and natural convection graphsSample results 2022 |
| Experiment Code | 1.3B |
| Version | January 11, 2022 - Version 2022-v1 |
Further Readings and References
- Heating water: rate correction due to Newton’s coolingThe Physics Teacher, J. O. Connell, 37, 551, (1999).
- Introducing specific heat through cooling curvesThe Physics Teacher, C.R. Mattos, A. Gasper, 40, 415, (2002).
- Do darker objects really cool faster?American Journal of Physics, R.A. Bartels, 58, 244, (1990).
Pictorial Procedure
-
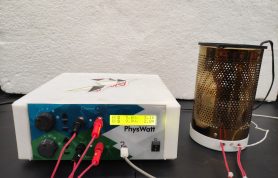
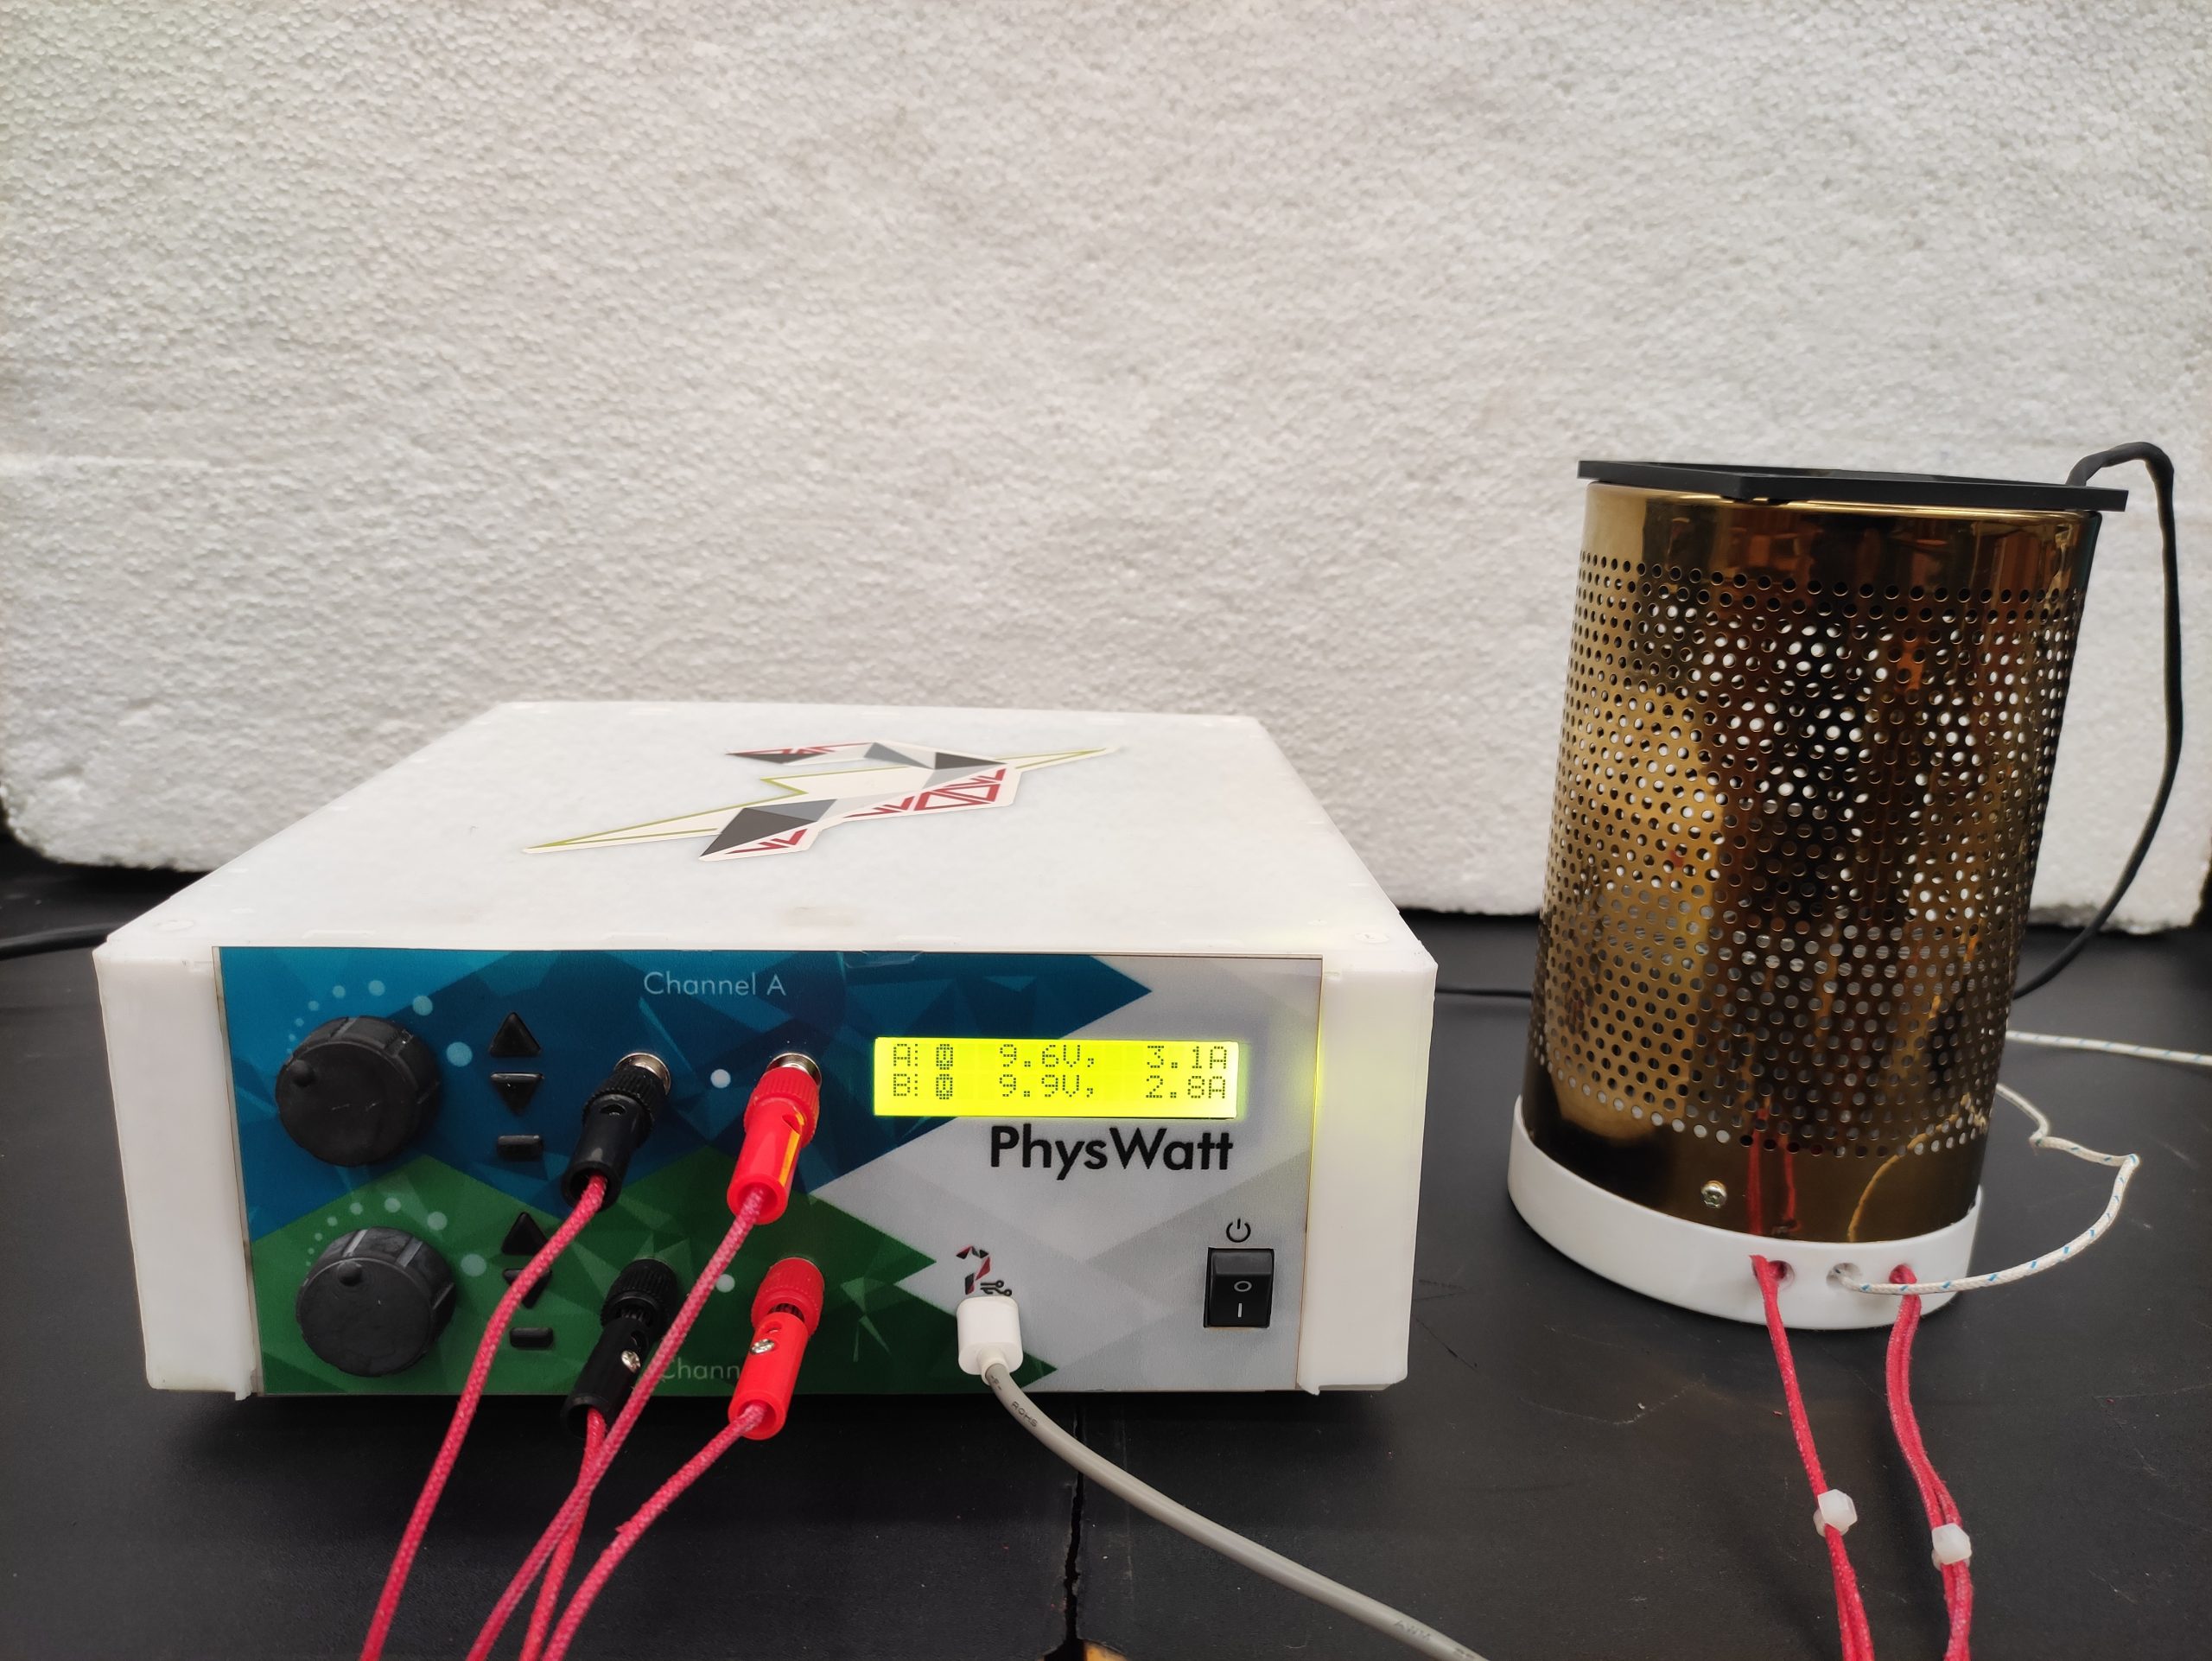
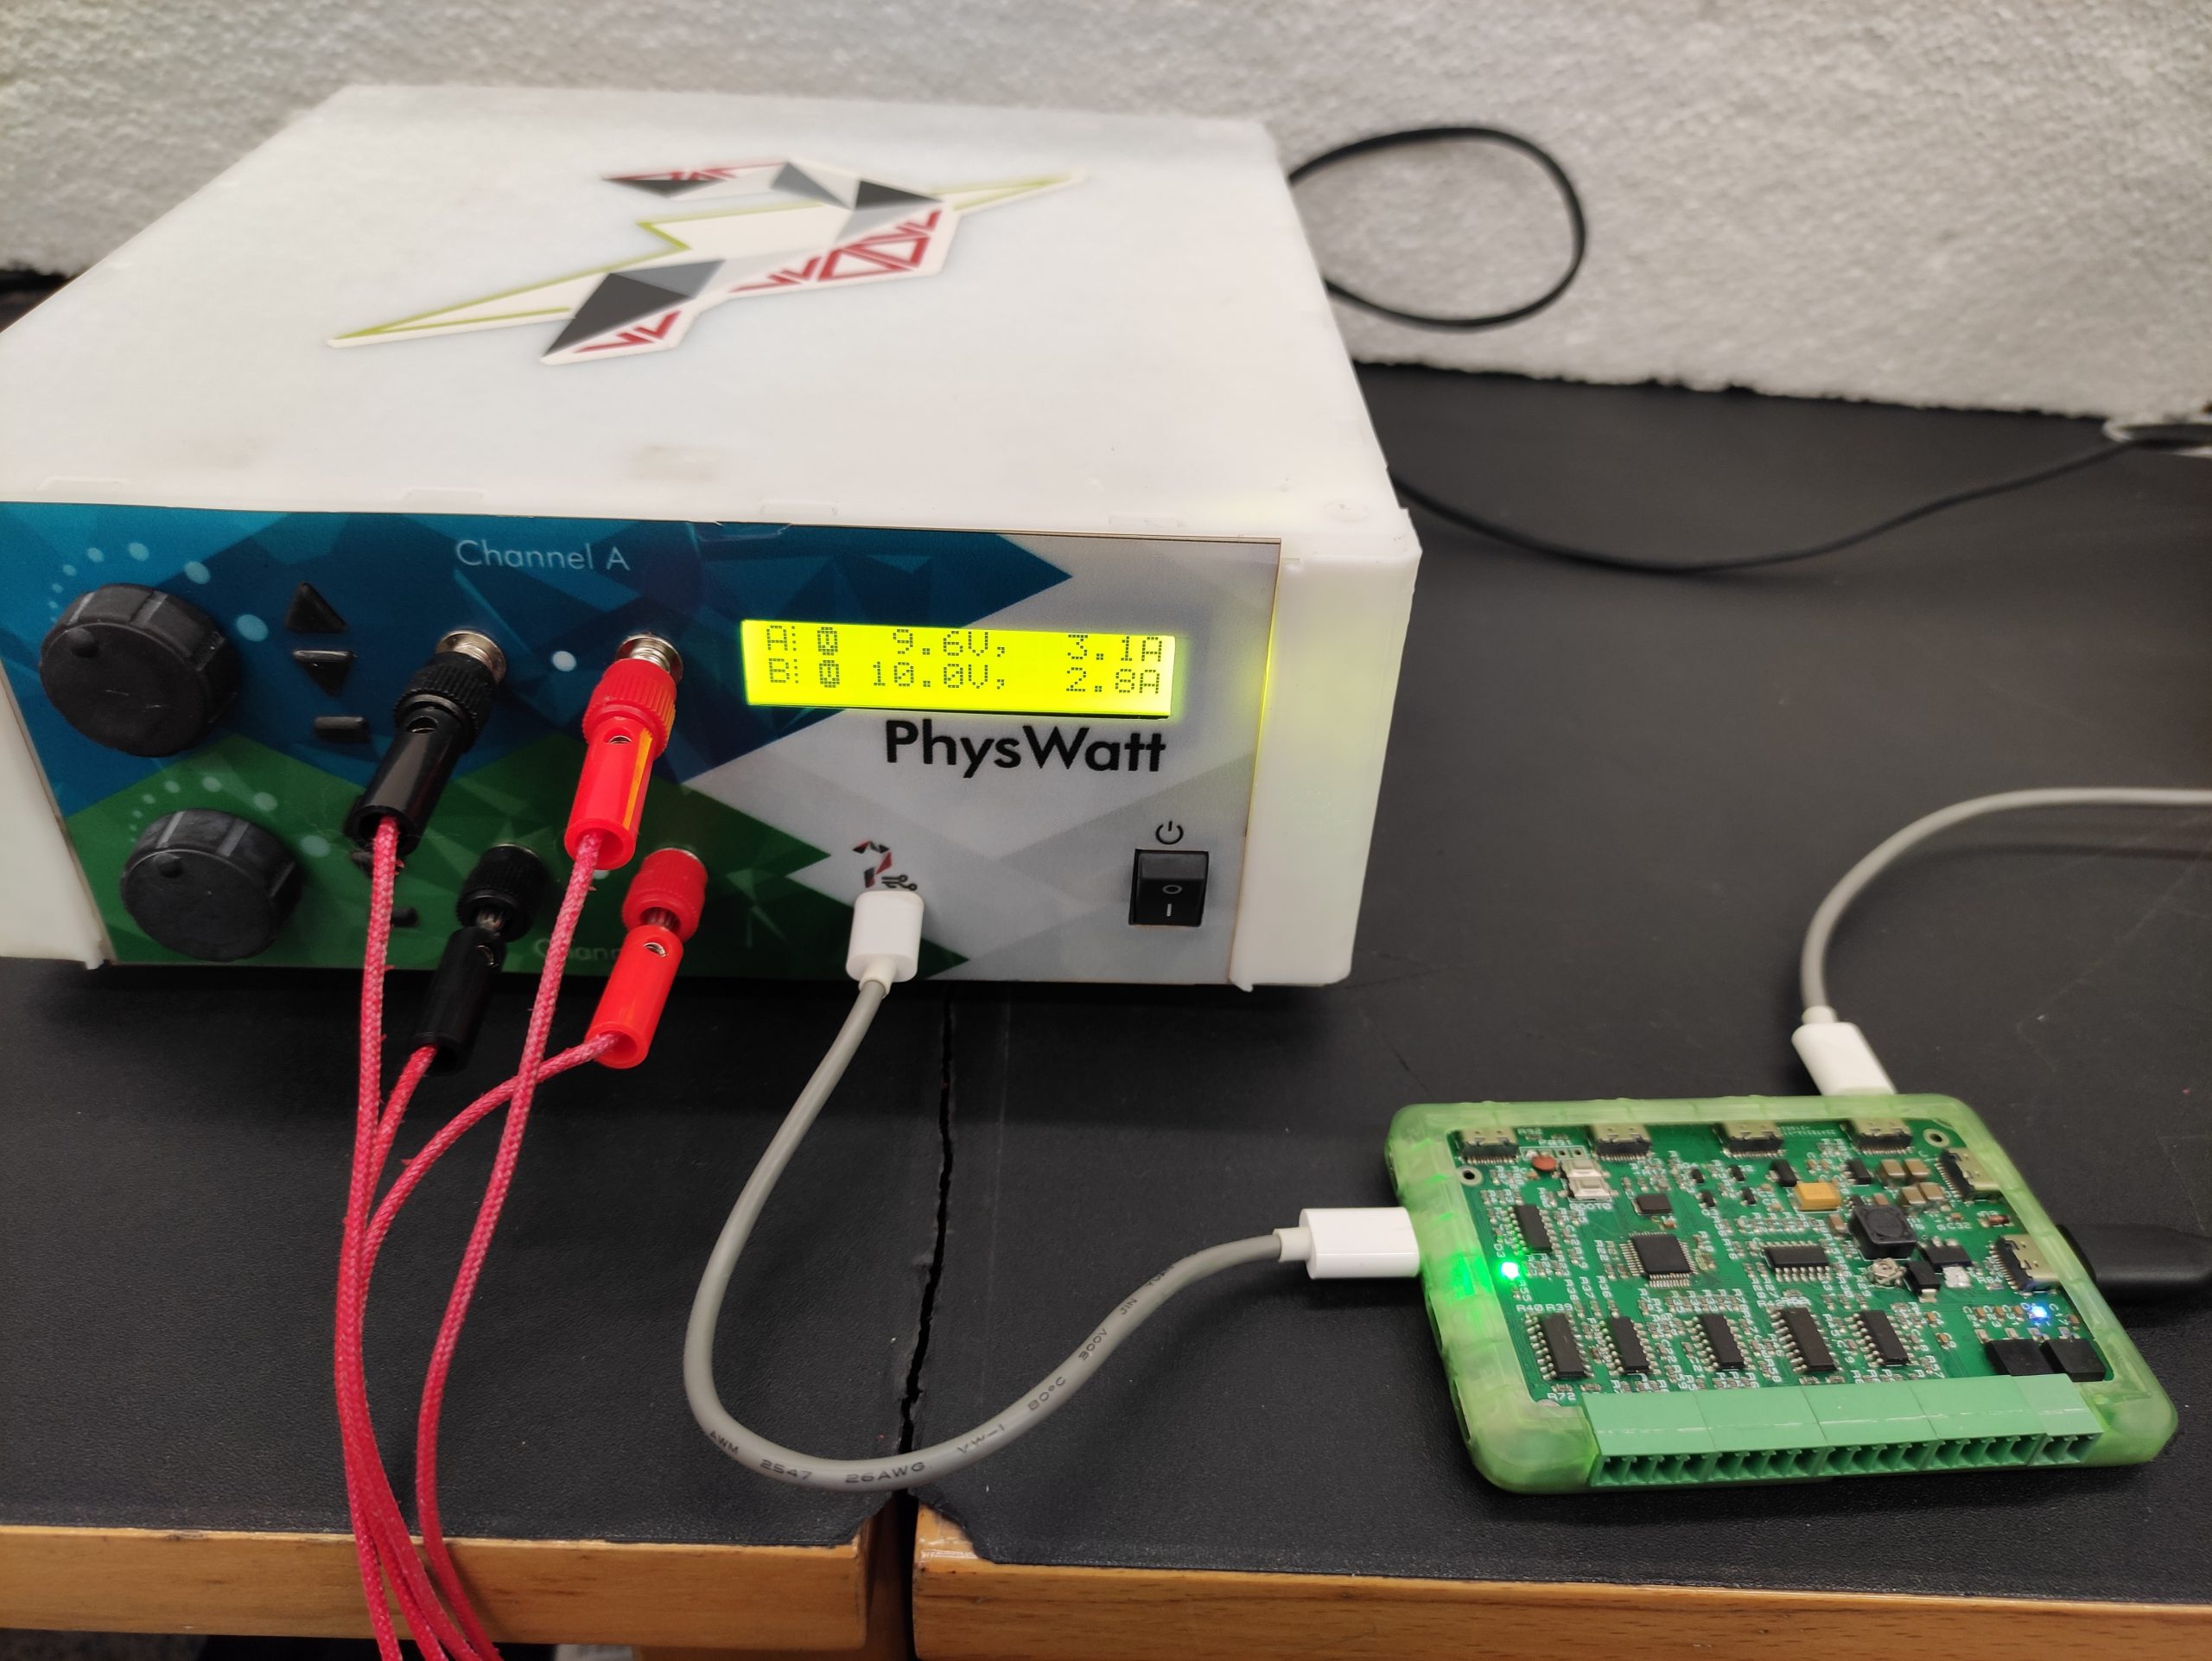
- Step 1: Connect the heaters with channels A and B of PhysWatt.
-
- Step 2: Channel C (fixed voltage) is connected to the fan.

-
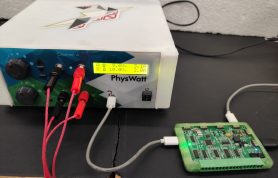
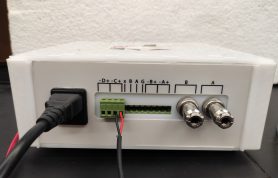
- Step 3: Connect PhysWatt with one of the digital channels of Physlogger.
-
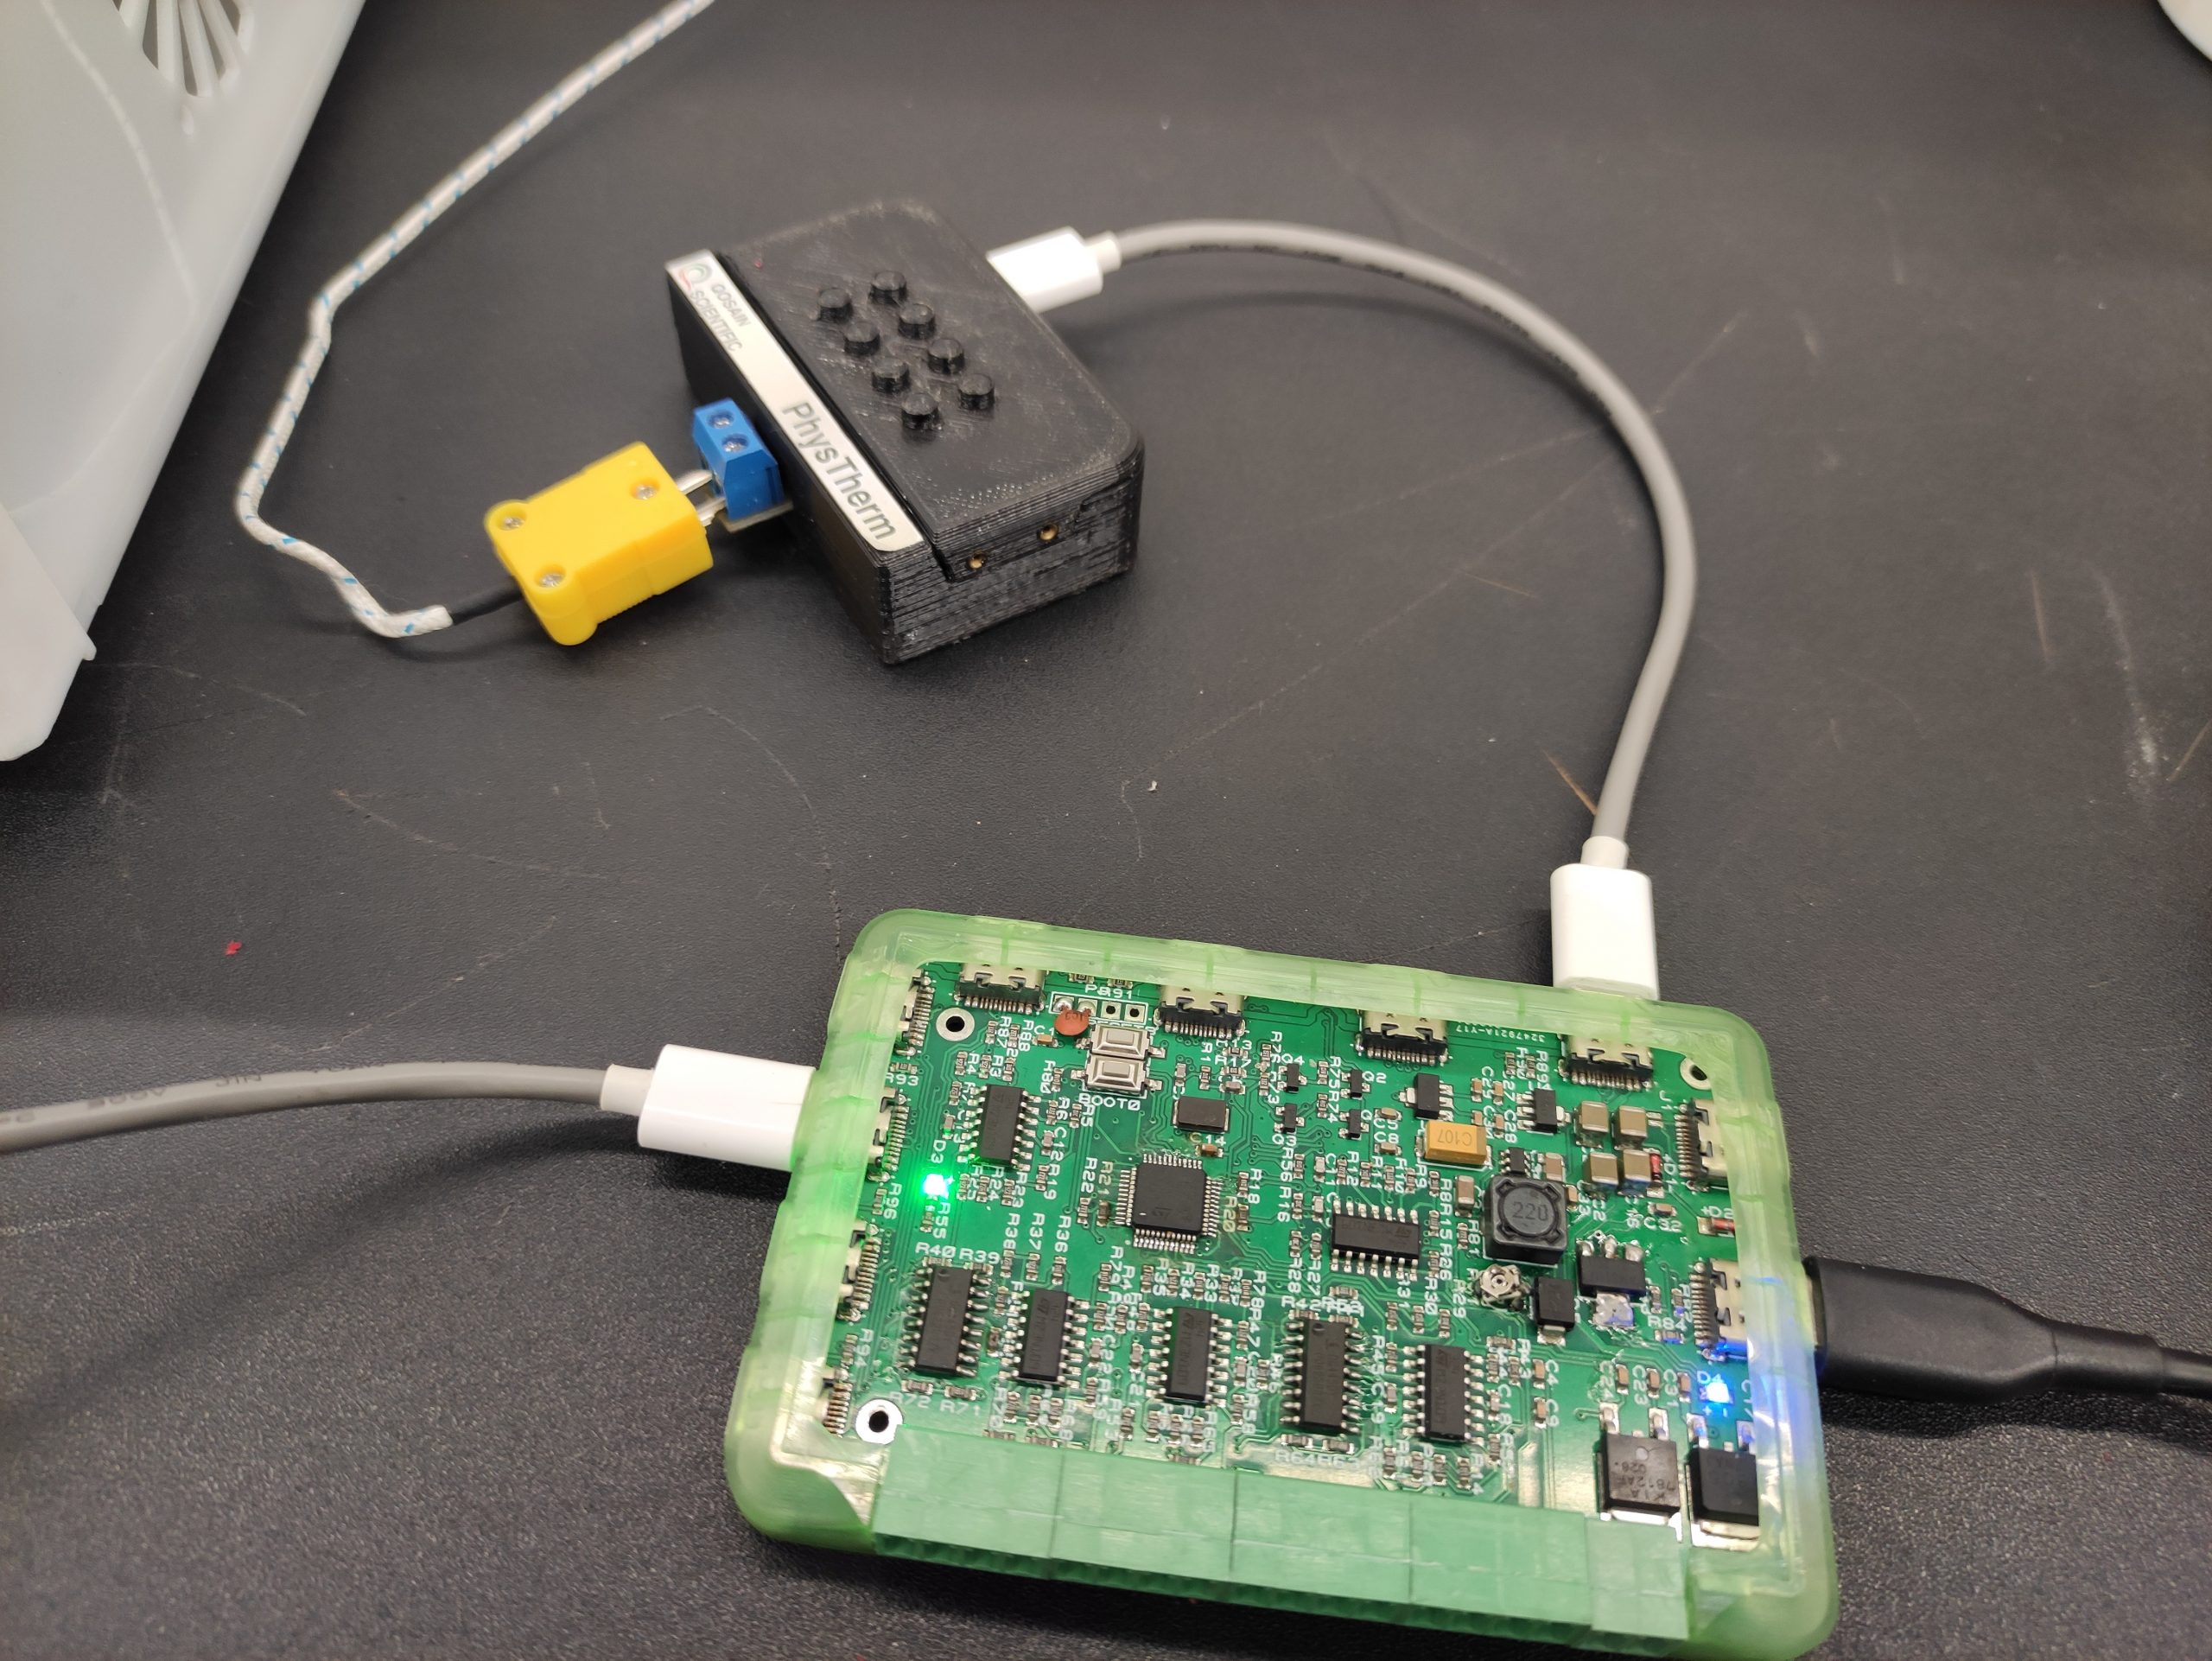
- Step 4: Connect PhysTherm with one of the analog channels of PhysLogger and the other side with the Thermocouple.
-
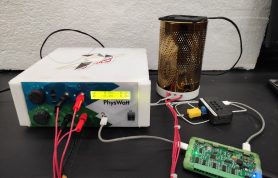
- Step 5: Attach Physlogger to the PC via a USB cable.

-
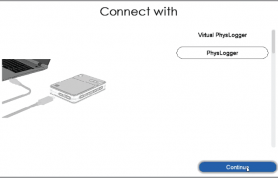
- Step 6: Start the application, select Physlogger and continue.

-
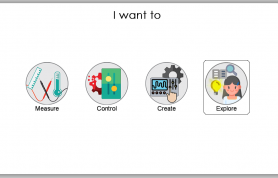
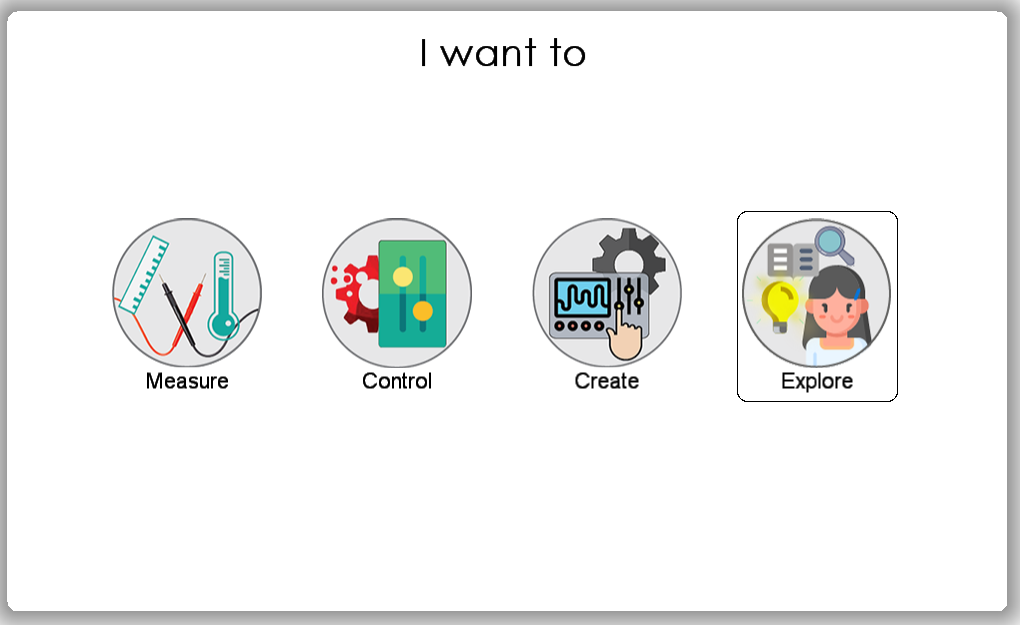
- Step 7: Go to > Explore.
-
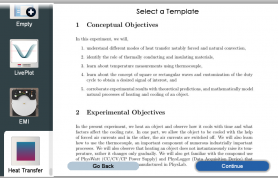
- Step 8: Select the community template Heat Transfer.
-
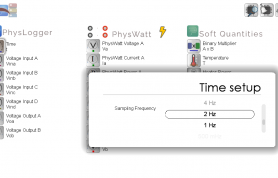
- Step 9: Adjust the sampling frequency to 2 Hz.
-
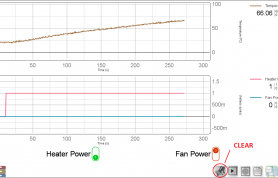
- Step 10: If needed, clear the previous data using the “CLEAR” button. Turn the heater ON for 4 to 5 mins. A live plot will show on the Physlogger interface.
-
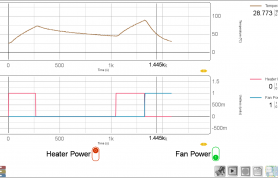
- Step 11: Turn the heater OFF and allow perforated cylinder to cool naturally. Again turn the heater ON for same time period. After switching OFF the heater, ON the fan. Recorded data will show on the Physlogger interface.
-
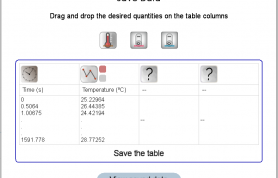
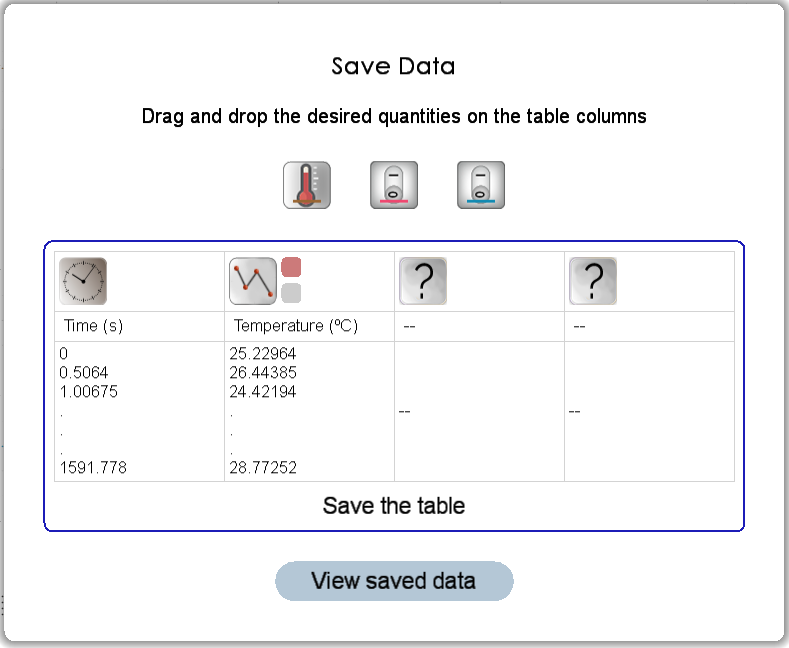
- Step 12: Export the data using the save option.